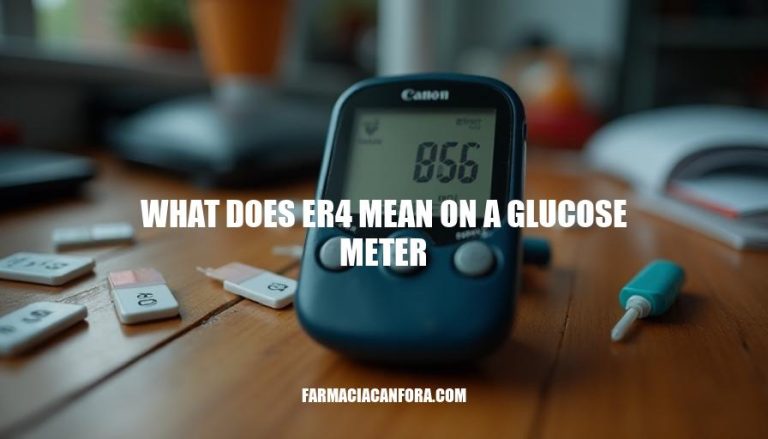
When using a glucose meter, encountering an “Er4” error code typically indicates an issue with the blood sample or the test strip. This error often means that there wasn’t enough blood on the strip, or the sample was applied incorrectly. Understanding these error codes is crucial for accurate blood glucose monitoring, as they help ensure reliable readings and effective diabetes management.
Common Causes of ER4 Error
A glucose meter might display the ‘Er4′ error for several reasons:
- Insufficient Blood Sample: Not enough blood on the test strip.
- Improper Application: Blood applied incorrectly or after the meter started counting down.
- Test Strip Issues: Damaged, expired, or improperly inserted test strip.
- Environmental Factors: Testing in an environment outside the meter’s operating temperature range.
If the error persists, it’s best to consult the meter’s manual or contact customer support.
Steps to Resolve ER4 Error
To resolve the ‘Er4′ error on your glucose meter, follow these steps:
-
Reapply the Blood Sample:
- Ensure you have enough blood on the test strip.
- Wait for the meter to beep before removing your finger.
-
Use a New Test Strip:
- Discard the old test strip.
- Insert a new test strip into the meter.
-
Ensure Proper Meter Calibration:
If the error persists, consult your meter’s user manual or contact customer support.
Preventing ER4 Error
To prevent the ‘Er4′ error, follow these best practices:
-
Proper Blood Sample Collection:
- Ensure the blood sample is sufficient. Wait for the meter to beep before removing your finger from the test strip.
- Avoid hemolysis by using gentle pressure and proper technique during collection.
-
Regular Meter Maintenance:
- Clean the meter regularly to prevent dust and residue buildup.
- Calibrate the meter as per the manufacturer’s instructions to ensure accuracy.
-
Using Fresh Test Strips:
- Always use test strips before their expiration date.
- Store test strips in a cool, dry place to maintain their efficacy.
These steps help ensure accurate readings and minimize errors.
When to Seek Professional Help
If the ‘ER4′ error persists, users should seek professional assistance in the following situations:
- Electrical Issues: If the error might be due to wiring problems or power surges, disconnect the appliance and contact a professional repair technician immediately.
- Unresolved Troubleshooting: If initial troubleshooting steps do not resolve the issue, it’s time to call in a professional repair technician.
- Specialized Knowledge Required: For issues like compressor problems in refrigerators, which require specialized tools and knowledge, professional help is necessary.
- Health Concerns: If the error is related to a medical device, consult with a healthcare provider to ensure safety and proper functioning.
Taking these steps can help prevent further damage and ensure the issue is resolved correctly.
The ‘ER4’ Error on a Glucose Meter: Causes and Solutions
The ‘ER4’ error on a glucose meter typically indicates an issue with the blood sample, test strip, or environmental factors.
To resolve this error, try the following:
Regular maintenance, such as cleaning and calibrating the meter, is also crucial to prevent errors.
Proper usage and maintenance are essential for accurate blood glucose readings and effective diabetes management.