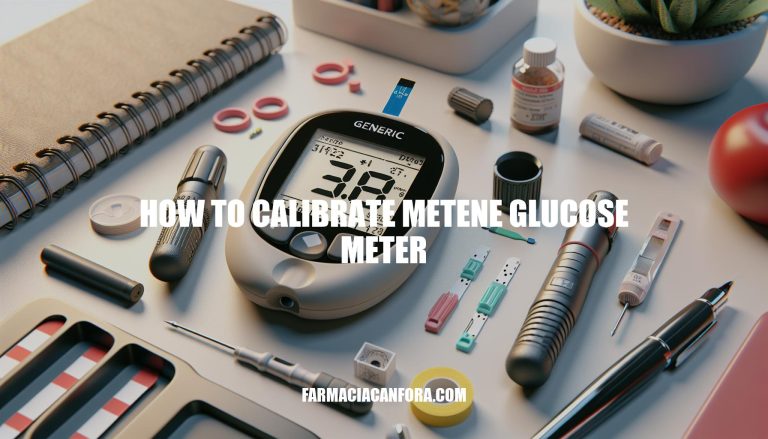
Calibrating your Metene glucose meter is crucial for ensuring accurate blood sugar readings. Accurate readings are essential for effective diabetes management, as they help you make informed decisions about diet, exercise, and medication. Proper calibration minimizes the risk of incorrect readings, which can lead to inappropriate treatment and potential health complications.
Step 1: Preparing the Metene Glucose Meter
Here are the initial steps to prepare the Metene glucose meter for calibration:
-
Check the Battery:
- Open the battery compartment.
- Ensure the battery is properly inserted and has sufficient charge. Replace if necessary.
-
Clean the Device:
- Use a soft, lint-free cloth to wipe the meter’s surface.
- Avoid using any harsh chemicals or submerging the device in water.
-
Insert a Test Strip:
- Insert a new test strip into the meter to turn it on and prepare it for calibration.
These steps will help ensure your meter is ready for accurate readings.
Step 2: Inserting the Test Strip
Here are the steps to insert the test strip into the Metene glucose meter:
- Prepare the Meter: Ensure the meter is turned on.
- Insert the Test Strip: Hold the test strip with the contact bars facing up. Insert the contact bar firmly into the meter’s slot until it cannot go any further.
- Check Alignment: Make sure the front side (usually blue) of the test strip is facing up.
- Confirmation: The meter will beep and the indicator light will turn on, signaling that the test strip is properly inserted and the meter is ready for testing.
This ensures accurate calibration and readiness for your glucose test.
Step 3: Using the Control Solution
- Shake the control solution bottle vigorously.
- Discard the first drop and wipe the bottle tip clean.
- Dispense a second drop onto a clean, hard surface.
- Apply the test strip to the drop until enough solution is absorbed.
Step 4: Reading and Comparing Results
- Insert Test Strip: Insert a test strip into the Metene glucose meter.
- Apply Blood Sample: Prick your finger with the lancet, wipe the first drop, and apply the second drop of blood to the test strip.
- Read Result: Wait for the meter to display the blood glucose level.
- Compare with Control Range: Check the control range printed on the test strip bottle. Ensure your reading falls within this range for accuracy.
Troubleshooting Calibration Issues
Here are some quick tips for troubleshooting common issues during the calibration of the Metene glucose meter:
-
Error Messages:
- Check the Manual: Refer to the user manual for specific error codes and solutions.
- Test Strip: Ensure the test strip is properly inserted and compatible with your meter.
- Battery: Replace the batteries if they are low.
- Environment: Use the meter at room temperature to avoid errors.
-
Inaccurate Readings:
- Clean Hands: Make sure your hands are clean and dry before testing.
- Expiry Dates: Check the expiry dates of test strips and control solutions.
- Storage: Store test strips in a cool, dry place.
- Calibration: Follow the manufacturer’s instructions for calibration with each new batch of test strips.
-
Insufficient Blood Sample:
- Warm Hands: Warm your hands to increase blood flow before pricking.
- Proper Technique: Ensure the lancing device is set to an appropriate depth.
-
Control Solution Testing:
- Shake Well: Shake the control solution vial well before use.
- Expiry: Ensure the control solution is not expired or contaminated.
If issues persist, consult the user manual or contact customer support for further assistance.
To Calibrate Your Metene Glucose Meter
Follow these key steps:
- Check the battery.
- Clean the device.
- Insert a test strip.
- Prepare the meter.
- Insert the test strip properly.
Performing a Control Solution Test
Next, perform a control solution test by:
- Shaking the bottle.
- Discarding the first drop.
- Applying the second drop to a test strip.
Reading and Comparing Results
Apply a blood sample to the test strip and read the result. Compare it with the control range printed on the test strip bottle for accuracy.
Regular calibration is crucial for accurate readings, as incorrect readings can lead to inappropriate treatment and potential health complications.